
CSS Intro Part 2
Today we'll get to practice our CSS (and learn a few more tricks) by building a menu. We'll get an introduction to browser dev tools, a basic CSS reset, fonts in CSS, and how to style a menu with :pseudo selectors.
Table of Contents
But first... our quiz!

How to make a menu
Today's lesson is going to be a practical one, which touches on a lot of the techniques we've covered in the first 3 weeks, plus some new ones.
We'll be taking a "paint-by-numbers" approach, so fire up your code editor, and follow along with the numbered steps!
I'm going to do this twice through - once to give you an overview, and the second time to stop and take questions.
Remember, to see your changes, you'll need to save them, and then refresh your browsers.
If something's not working, validate your HTML Opens in a new window and CSS Opens in a new window. If it's still not working, go back a step.
It's great practice to write things out by hand, but if you need to copy & paste from the notes (either because a block of code is very long, or because something in your typed code isn't working as expected), that's ok, too.

Create an external stylesheet
- Start by creating a folder on your computer. Call it anything you like.
- Inside this folder, create two files:
- One called
index.html - One called
style.css
- One called
- In
index.html, paste in our bare-minimum document from the second week.
- In the head, add a
<link>element. - Set the link's
hrefattribute to 'style.css' - Set the link's
relattribute to 'stylesheet'
At this point, you should have something that looks like this:
<link href="style.css" rel="stylesheet">What's going on here?
- The
<link>element is for creating links to external assets. - 99% of the time it's used for stylesheets or the icon that goes in the browser tab.
- The
<link>element doesn't accept content (like text or other HTML), so it is a "self-closing element", meaning we don't need a closing<link>tag at the end of it. - The
relattribute is short for "relationship", and defines what relationship the external asset has with the content. In this case, it's a stylesheet. - The
hrefattribute (short for 'hypertext reference') specifies the path to the file. This could be an external source (another website), or source in the same file system. Since thestyle.cssfile is in the same folder as theindex.htmlfile that is calling it as a resource, we can just write the name of the file, and the browser will know to find it in the same folder.
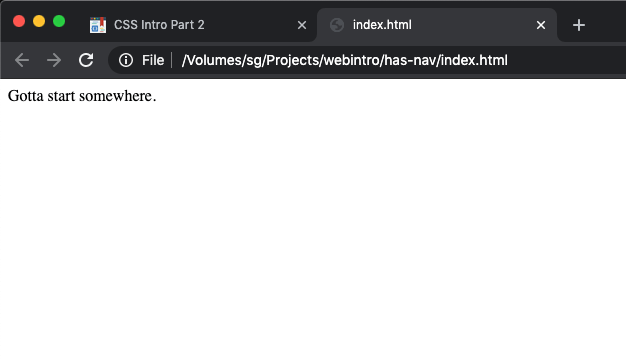
Now we've got an HTML document that calls a stylesheet.
- Try opening
index.htmlin your browser.
This is probably a bit anti-climactic.
Let's add a little style, shall we?
- Open your
index.htmlfile in your text editor. - Add a
<div>element to your html file. - Write some text in that div.
- Add a class attribute to your div, and call the class
my-excellent-class
<!doctype html>
<html lang='en'>
    <head>
        <meta charset='utf-8'>
        <link href='style.css' rel='stylesheet'>
        <title></title>
    </head>
    <body>
        <div class='my-excellent-class'>Some text</div>
    </body>
</html>- Open your
style.cssfile in your text editor. - Add the CSS code below:
.my-excellent-class {
    font-size: 2rem;
    color: red;
}- Now refresh your browser
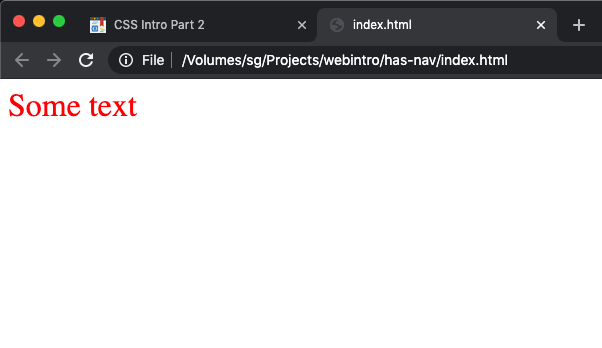

Congratulations! You have successfully styled an HTML document using an external stylesheet!

Normalizing browser styles
The next thing we'll do is add a stylesheet that someone else is providing for us.
This is probably the world's most popular stylesheet, and we get it for free!
'Normalize.css' does one job - and it's not that exciting, but it will save us a lot of headaches.
Remember last week when we talked about 'user-agent styles'? These are the styles that the browser applies as defaults. Unfortunately, not every browser has the same defaults.

The purpose of normalize.css is, as the name suggests, to make the default styles the same on every browser. This means that you're not starting out seeing things differently in different browsers. You'll still need to check different browsers to make sure your custom styles are working properly across the board, but at least this way we know we're not starting at a disadvantage.
- Download normalize.css (you'll likely want to right-click the 'Download' button on the normalize.css webpage, and select 'Save Link As...')
- Move the downloaded file into your project folder, along with
style.cssandindex.html - Add the following code before you call
style.css:
<link rel="stylesheet" href="normalize.css">If you save your html file and refresh your browser, you'll likely only see the slightest change in your webpage. The difference is that now you know that what you're seeing in your browser is exactly the same across Chrome, Firefox, Internet Explorer, etc.

Semantic navigation
Now that we're ready to start styling our page - let's put something there!
We're going to create a navigation menu. But first, we need some things on our page to navigate to. I'm going to help you cheat a little by giving you some CSS to create page sections.
- Create 4
<section>elements in the body of your page. (Don't forget to close each element!) - Give each element the class
section--page. - Inside each
<section>, write some unique text, so that you can identify which section is which. - In your
style.cssfile, paste the following code:
.section--page {
    min-height: 55vh;
    padding: 2rem 1rem 1rem;
}
.section--page:nth-of-type(odd) {
    background: #d5d5d5;
}
Now we have things to navigate to!
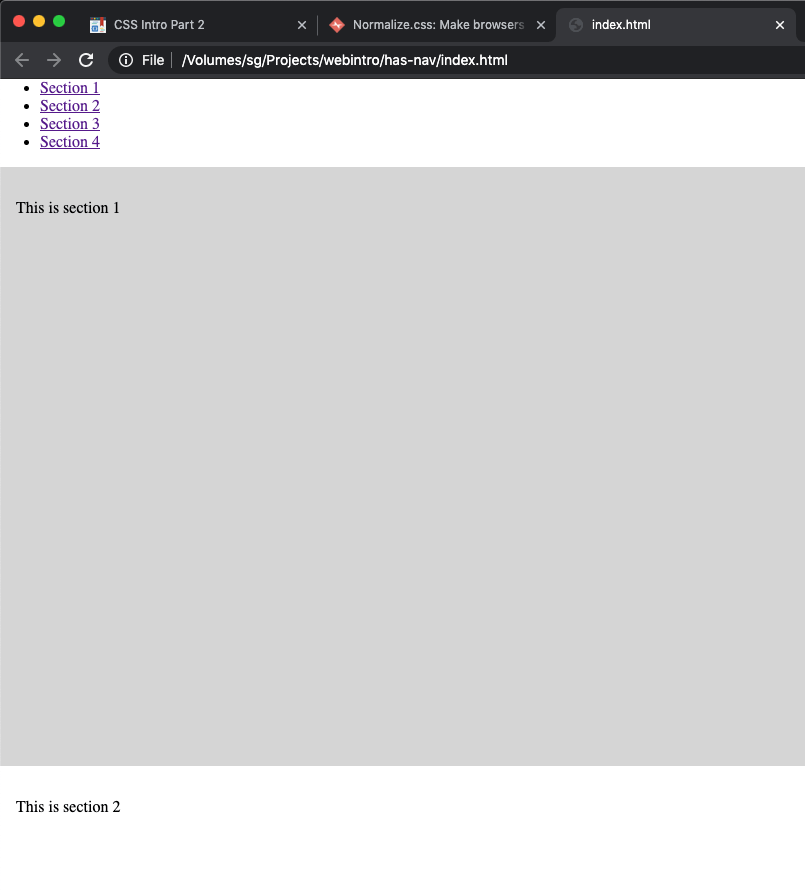
We can now go ahead and create our navigation.
- Before the section elements, create a
<nav>element in the body of your page. - Inside the nav element, create a list with 4 list items.
- Inside each list item, create an anchor tag.
- Inside the anchor tags, write 'Section 1', 'Section 2', etc.
At this point, your html file should look like this:
<!doctype html>
<html lang='en'>
<head>
<meta charset='utf-8'>
<link rel='stylesheet' href='normalize.css'>
<link href='style.css' rel='stylesheet'>
<title></title>
</head>
<body>
<nav>
<ul>
<li><a href=''>Section 1</a></li>
<li><a href=''>Section 2</a></li>
<li><a href=''>Section 3</a></li>
<li><a href=''>Section 4</a></li>
</ul>
</nav>
<section class='section--page'>This is section 1</section>
<section class='section--page'>This is section 2</section>
<section class='section--page'>This is section 3</section>
<section class='section--page'>This is section 4</section>
</body>
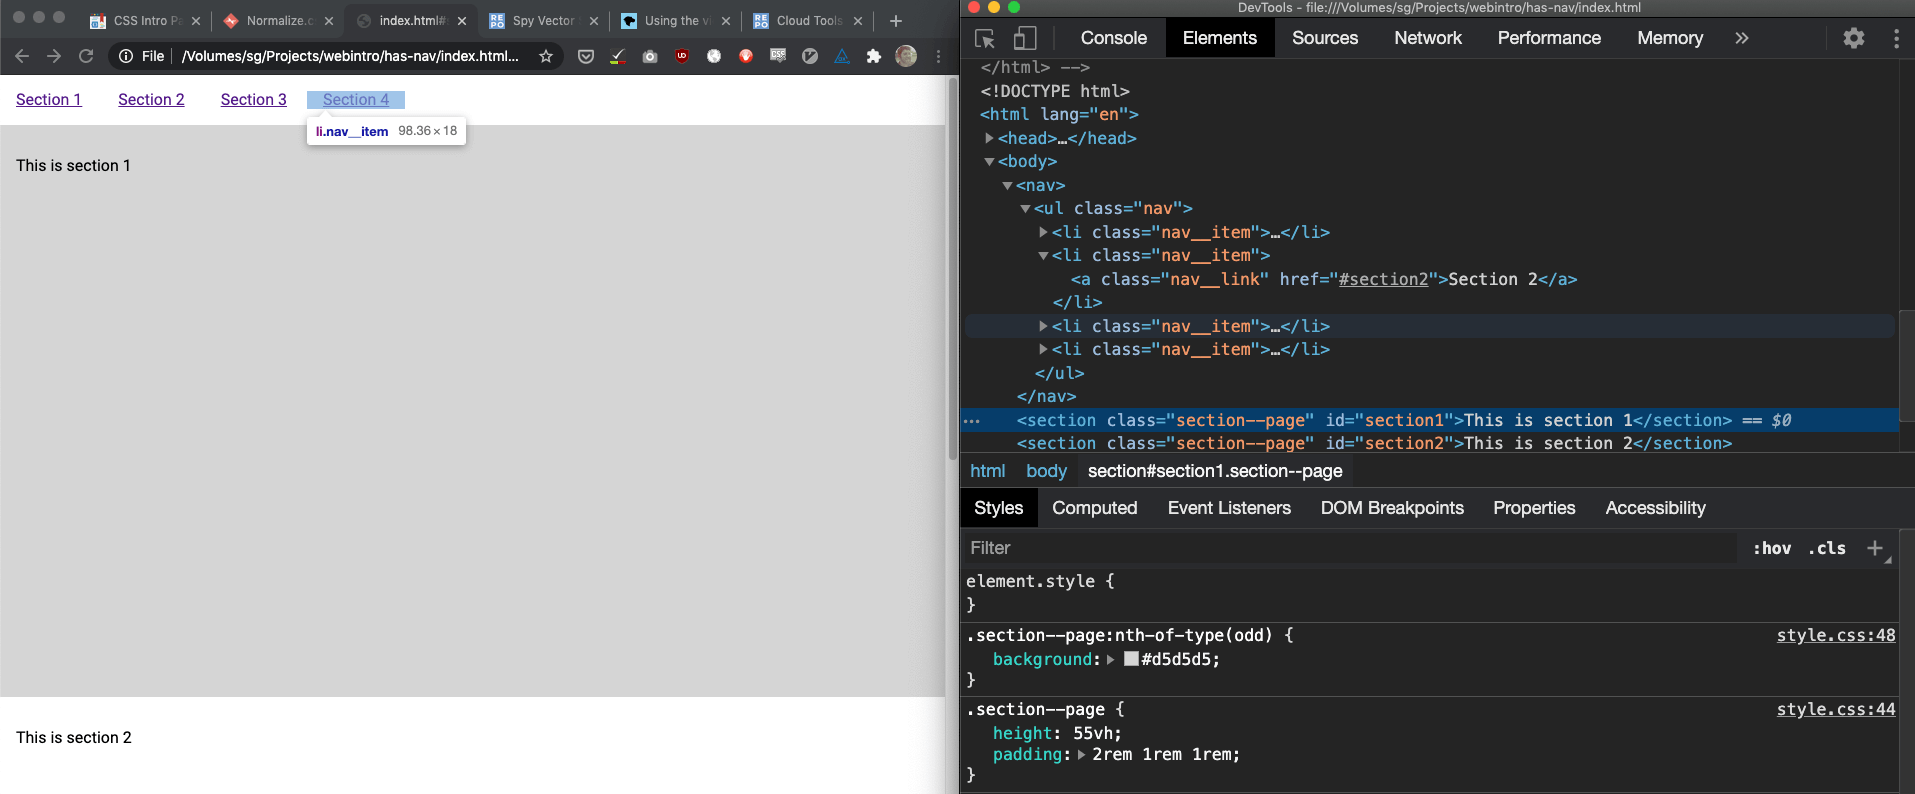
</html>And when you refresh your browser, it should look something like this:
There's only one thing left to do before we have a functional navigation.
- Give each section a unique id.
- Give each anchor an href corresponding to that id, prefixed with
#
<!doctype html>
<html lang='en'>
<head>
    <meta charset='utf-8'>
    <link rel='stylesheet' href='normalize.css'>
    <link href='style.css' rel='stylesheet'>
    <title></title>
</head>
<body>
    <nav>
        <ul>
            <li><a href='#section1'>Section 1</a></li>
            <li><a href='#section2'>Section 2</a></li>
            <li><a href='#section3'>Section 3</a></li>
            <li><a href='#section4'>Section 4</a></li>
        </ul>
    </nav>
    <section
        class='section--page'
        id="section1">This is section 1</section>
    <section
        class='section--page'
        id="section2">This is section 2</section>
    <section
        class='section--page'
        id="section3">This is section 3</section>
    <section
        class='section--page'
        id="section4">This is section 4</section>
</body>
</html>
Save index.html and refresh your browser. Now try clicking on any of the links in the nav!
- In your html file, give your navigation list (the
ulelement) the classnav. - In your html file, give each list item in your navigation a class of
nav__item. - Also in your html file, give each anchor in your navigation a class of
nav__link.
- In your CSS file, add the following code:
.nav {
    padding: 0;
}
.nav__item {
    list-style:none;
    display: inline-block;
}
.nav__link {
    padding: 1rem;
}
Pseudo-classes
Pseudo-classes are weird... but fun.
As the name suggests, they are not quite classes, but they are categories of elements that you can select in your CSS. You can recognize them, as they're prefixed with a colon.
There's actually a bunch of them, but today we'll just look at one - :hover (although, if you've been paying close attention, we've already used a different one in our CSS).
Hover

The :hover pseudo-class lets us write style rules for links that only apply when the user hovers over the element.
- Add the following to your CSS file:
.nav__link:hover {
    background: purple;
    color: white;
}
Now reload your html file in the browser and hover over your navigation menu.
Geez, this is starting to look like a real website, isn't it?
Let's add one more thing that will make it feel much more "web‑ready".

Font-family
font-family is a CSS property that defines the font of our CSS elements.
In weeks to come, we'll use it to load custom fonts, but today we'll make use of fonts that the user already has installed on their computer.
You can add this property to any rule, but you probably want to start by defining the basic font that will be the default for all your elements.
- Add the following at the beginning of your CSS file
body {
    font-family: Roboto, sans-serif;
}
The browser will go through this list, from the first item ("Roboto") to the last ("sans-serif") until it can find a font installed on the user's computer that matches.
In our list, most Android users will have "Roboto" installed, but most Mac and Windows computers won't. The generic 'sans-serif' will load Helvetica on Mac and Arial on Windows (the default fonts of that font type).
Honestly, you can probably just write font-family: sans-serif;, I just wanted to show you how the fallback works.

Dev Tools
Look at the page you've been building in the browser.
Right-click anywhere on the page, and choose "inspect".
You'll have a window pop up. These are your "browser tools", also known as the "dev tools".
You'll see what looks like your html file. Click on any one of those lines and you'll see what CSS rules have been applied to it, including from the user-agent styles.
You can alter these rules, or add new ones and try things out in the browser.
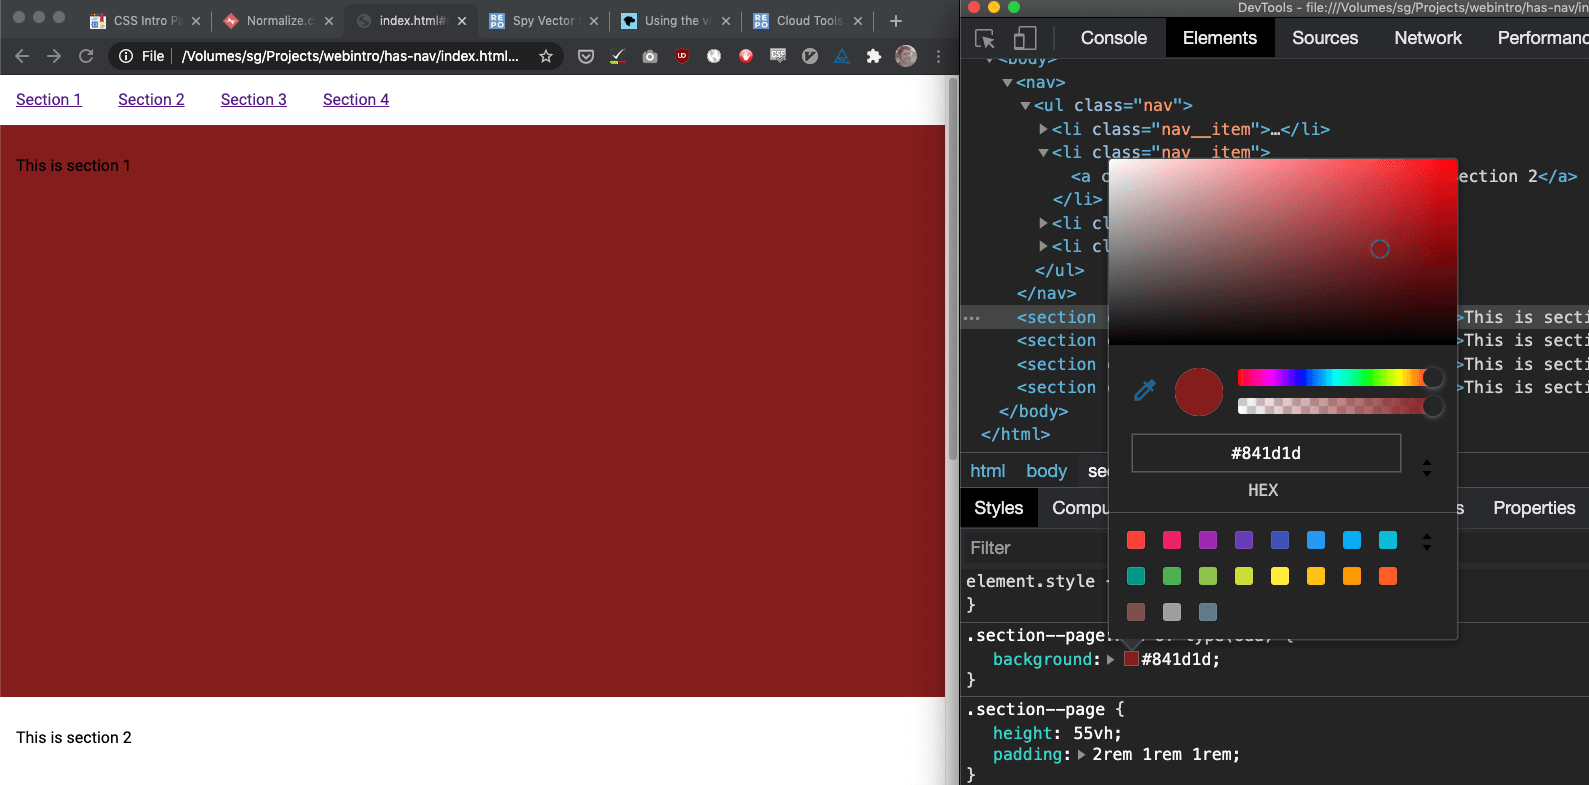
This is just a "sandbox", however. None of your changes are saved, so when you refresh the browser, those changes will be gone.
Here's today's exercise:
Work off of the file you've created during today's lesson (unless you want extra practice)!
- Create a web page with 6 different sections and a page heading.
- Near the top of your page, include a menu that links to all 6 sections, plus one external link.
- Choose a topic. Add content to each of the 6 sections, including:
- A heading for each section.
- An image.
- A paragraph, including text, and at least one anchor tag.
- Using an external stylesheet, give different
:hoverstyles to your navigation links and the links in your page content.
This exercise is not graded. However, if you have specific questions, and you'd rather send me files here, rather than asking me in class, via Slack, or via email (all of which I'd prefer, frankly), create a zip file from the folder that contains both your web page (the html file) and the css file, and submit this on Blackboard.
Download the starter files.